

Kit Tutorial for Course Creators: Email Sequence and Automations to Turn Subscribers into Students
Follow this no-fluff, step-by-step tutorial to convert your email subscribers into paying students using Kit.

Email sequences are a strategic way to keep your brand at the forefront of your audience’s mind. Think of these emails as a way to keep the conversation going and provide so much value that your audience trusts you enough to purchase your course.
After you’ve written your nurture email sequence (see this blog post if you haven’t written one), the next step is to actually place those emails into a platform that will send the emails to your subscribers.
Enter: Kit (formerly ConvertKit)- the email marketing platform of choice for this tutorial (use my affiliate link to try it out for free - I truly appreciate it 🥰).
Kit is an email marketing platform built with creators in mind (that’s us!!). Kit helps you automate systems to grow and connect with your audience - all you have to do is set up the forms, emails, and automations and BAM - instant value sent directly to your subscribers inboxes 🙌🏻
Let’s get into the nitty gritty of how we set up our emails and automation for our nurture sequence. If you’ve been playing along, this is the set of emails that comes after a subscriber receives their freebie via the form we created. This tutorial will go over the following steps to get your email sequence and automation running:
- Create a Sequence
- Add your Nurture Sequence Emails
- Adjust Email & Sequence Settings
- Create an Automation
- Choose Your Entry
- Add your Sequence
- Activate the Automation
Create a Sequence

In Kit, navigate to the top bar and click Send. A dropdown will appear and click on Sequences to begin creating a sequence.

Click the New Sequence button.

Choose a template for your sequence. I prefer using the Newsletter template because there are more functions available when writing the email.

Click the pencil icon to edit the sequence name. Name it something that will make it easy to differentiate it from others - ideally something related to the freebie that relates to this sequence. I’ve named my sequence “Sequence Tutorial” simply for reference.
Add your Nurture Sequence Emails

Edit the subject line of the first email in your sequence. I suggest adding your freebie-specific Welcome Email as the first email, so write a subject line to match.

Click the dropdown to choose when to send this email. Depending on what your nurture email sequence plan is, choose however many days you want this email to send after the initial freebie download email was sent. You also have the ability to include/exclude days of the week that this email can be sent.
This is helpful if you have regular newsletter that normally sends on a specific day of the week. If you want, you can change the settings so that a subscriber doesn’t get multiple emails from you in one day (i.e. your newsletter email AND this sequence email).

Copy and paste the email you prepared into the body section of the email.

Hover over the email body to show a plus icon to add different elements to the email.

A dropdown with different options will appear - choose whatever suits your needs for this email.

Navigate to the right side of the screen where you see the Add Email button - click it to add additional emails. Repeat the steps above until you have added the content for your entire nurture sequence.
Adjust Email & Sequence Settings

Click the Settings button in the top right of the screen.

Make sure the proper “send” email is chosen. Feel free to adjust the template for new emails and the sequence schedule to your preferences.
The bottom section is where you can exclude specific subscribers from entering this email sequence.

On the right side of the screen, keep the Active setting toggled on. Depending on your preferences, you can choose to allow subscribers to restart the sequence, and if they will receive new emails that you might add to the sequence later.

Save these preferences by clicking Update Sequence on the bottom right.
Create an Automation

The next step is to create an automation that sends your email sequence to your subscriber after they have filled out the form for the freebie you offer. Go to the navigation bar, click Automate, and then click Visual Automations.
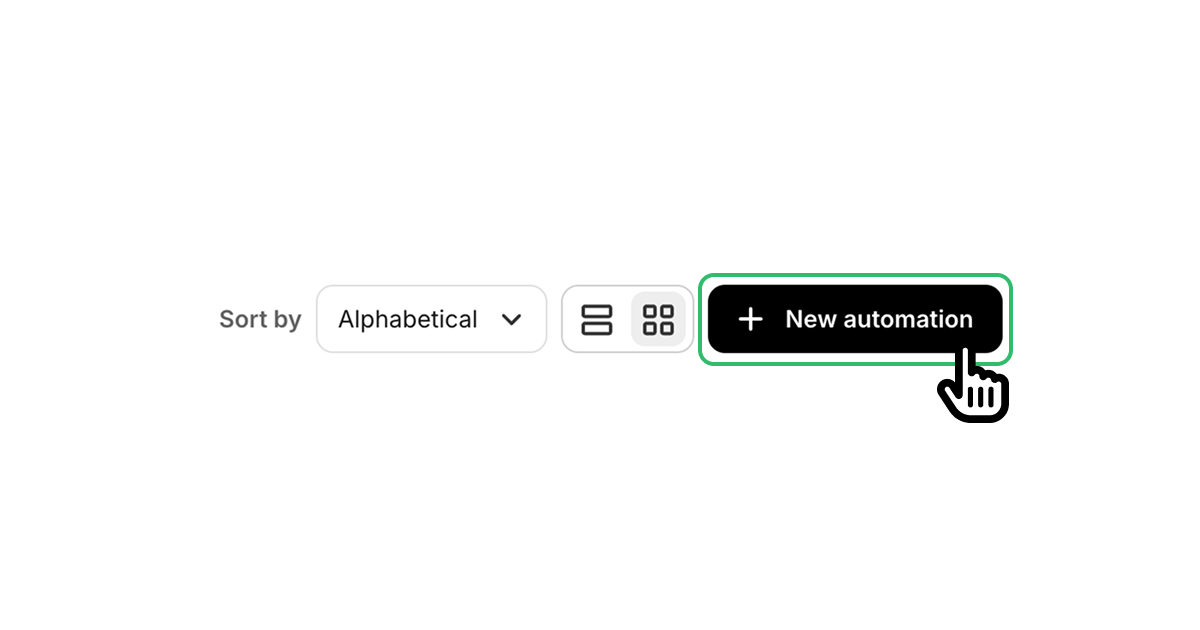
In the top right corner, click New Automation
A variety of choices will be shown - for this tutorial, choose the Empty Automation option.

In the top left of the screen, click the pencil icon to rename your automation. Name it something that will be easy to identify in the future. I suggest giving it a name that references your freebie.

Choose the Start Building option.
Choose Your Entry

Click the Joins a Form option when prompted to choose an entry point.

From the dropdown choose the form that you created for your freebie and then click Add Event.
Add your Sequence

Your screen will show what your automation chart looks like. Click the plus icon that is below your form name. (My form is named "Form Tutorial" for the purposes of this tutorial.)

Make sure the Action button is selected, and then choose Email Sequence.

A dropdown will appear. Choose the email sequence that you created in the earlier steps of this tutorial. (My sequence is named Sequence Tutorial for the purposes of this tutorial.)

Click Add Action to add the sequence to your automation.

Your automation chart should look similar to this. Your form name and sequence name will show in the spots where you see “Form Tutorial” and “Sequence Tutorial” in this image.
Activate the Automation

To activate the automation, click the toggle next to Active near the top right corner of the screen.

A dialogue box will appear to confirm activation. Click Activate.

You’ll see a notification on the screen letting you know that your visual automation is active!
You’ve set up your email sequence and automation on Kit and you’re well on your way to building your email list!
The next task you’ll want to tackle is creating an opt-in landing page on your website. This is where the form for your lead generation tool will live and where you can direct people to sign up for the freebie.
Once you're ready to build a website and if designing your own site is something you’d like to pass off to a specialist, I would love to be one of the designers you consider! Check out my portfolio and course creator website package to see if we’d be a match 🤩
Citation for images: [Kit sequence and automation creation sequences]. (n.d.). https://app.kit.com/

Looking for a Designer?
Let's make your website not only look amazing, but also provide your customers with the best website experience possible. I'd love to chat about your project!


